Recharging Ring camera batteries can feel like a never-ending chore, especially if your cameras are mounted high or outdoors. A simple solar setup can completely change that. This article walks you through how to connect a solar panel to your Ring solar security camera the right way—saving time, energy, and giving you true worry-free protection. Whether you’re setting up your first wireless solar security camera system or upgrading an existing one, you’ll learn how to keep it powered all year long.
Compatible Ring Solar Security Cameras and Power Requirements
Before connecting a solar panel to your Ring solar security camera, confirm that your model supports solar charging. Only battery-powered Ring cameras are designed for continuous solar operation, making them ideal for any wireless solar security camera setup.

Supported Models
Ring Outdoor Cam Plus (Battery)
Ring Spotlight Cam Plus (Battery)
Ring Stick Up Cam (Battery)
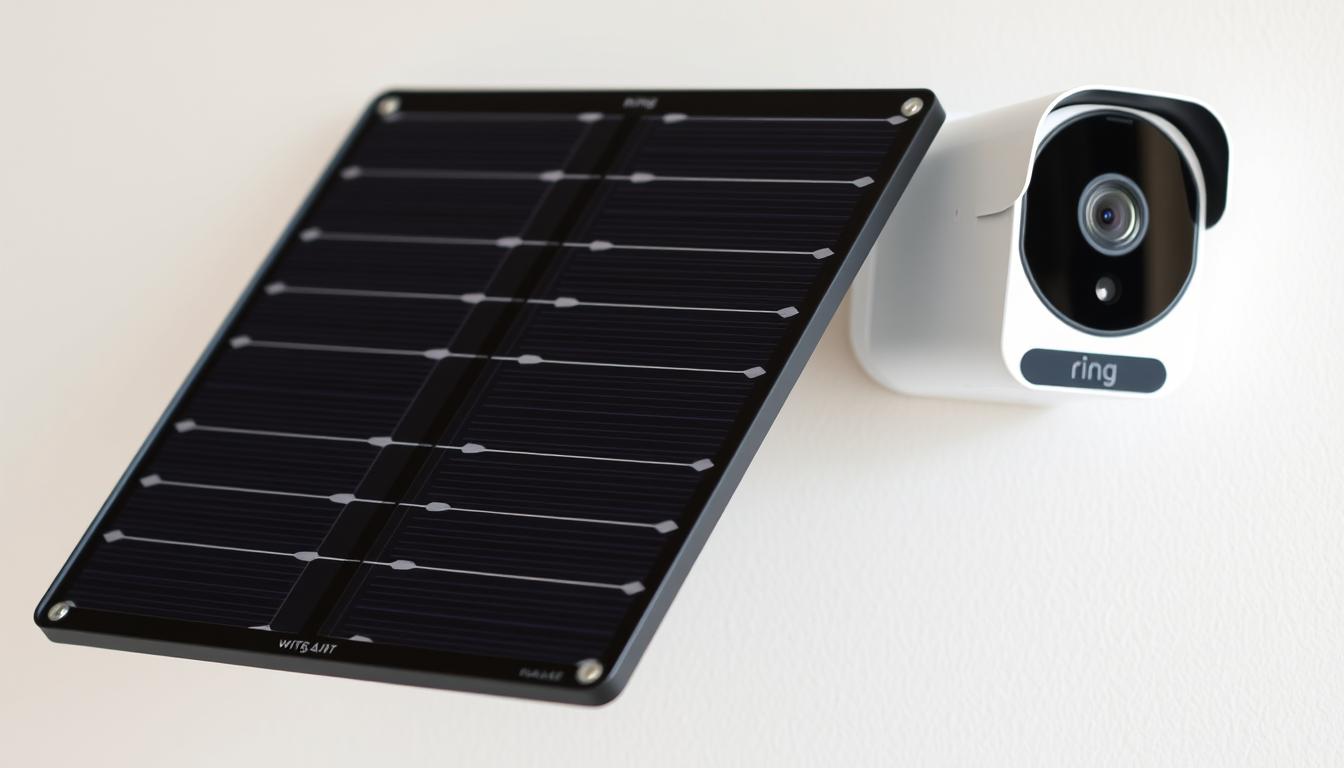
Ring also sells “Solar” editions, such as the Spotlight Cam Solar and Outdoor Cam Plus Solar, which include an official solar panel and mounting kit.
All compatible versions use the Quick-Release Battery Pack, letting you swap or recharge batteries without interrupting your outdoor solar security camera system.
Power and Connection Details
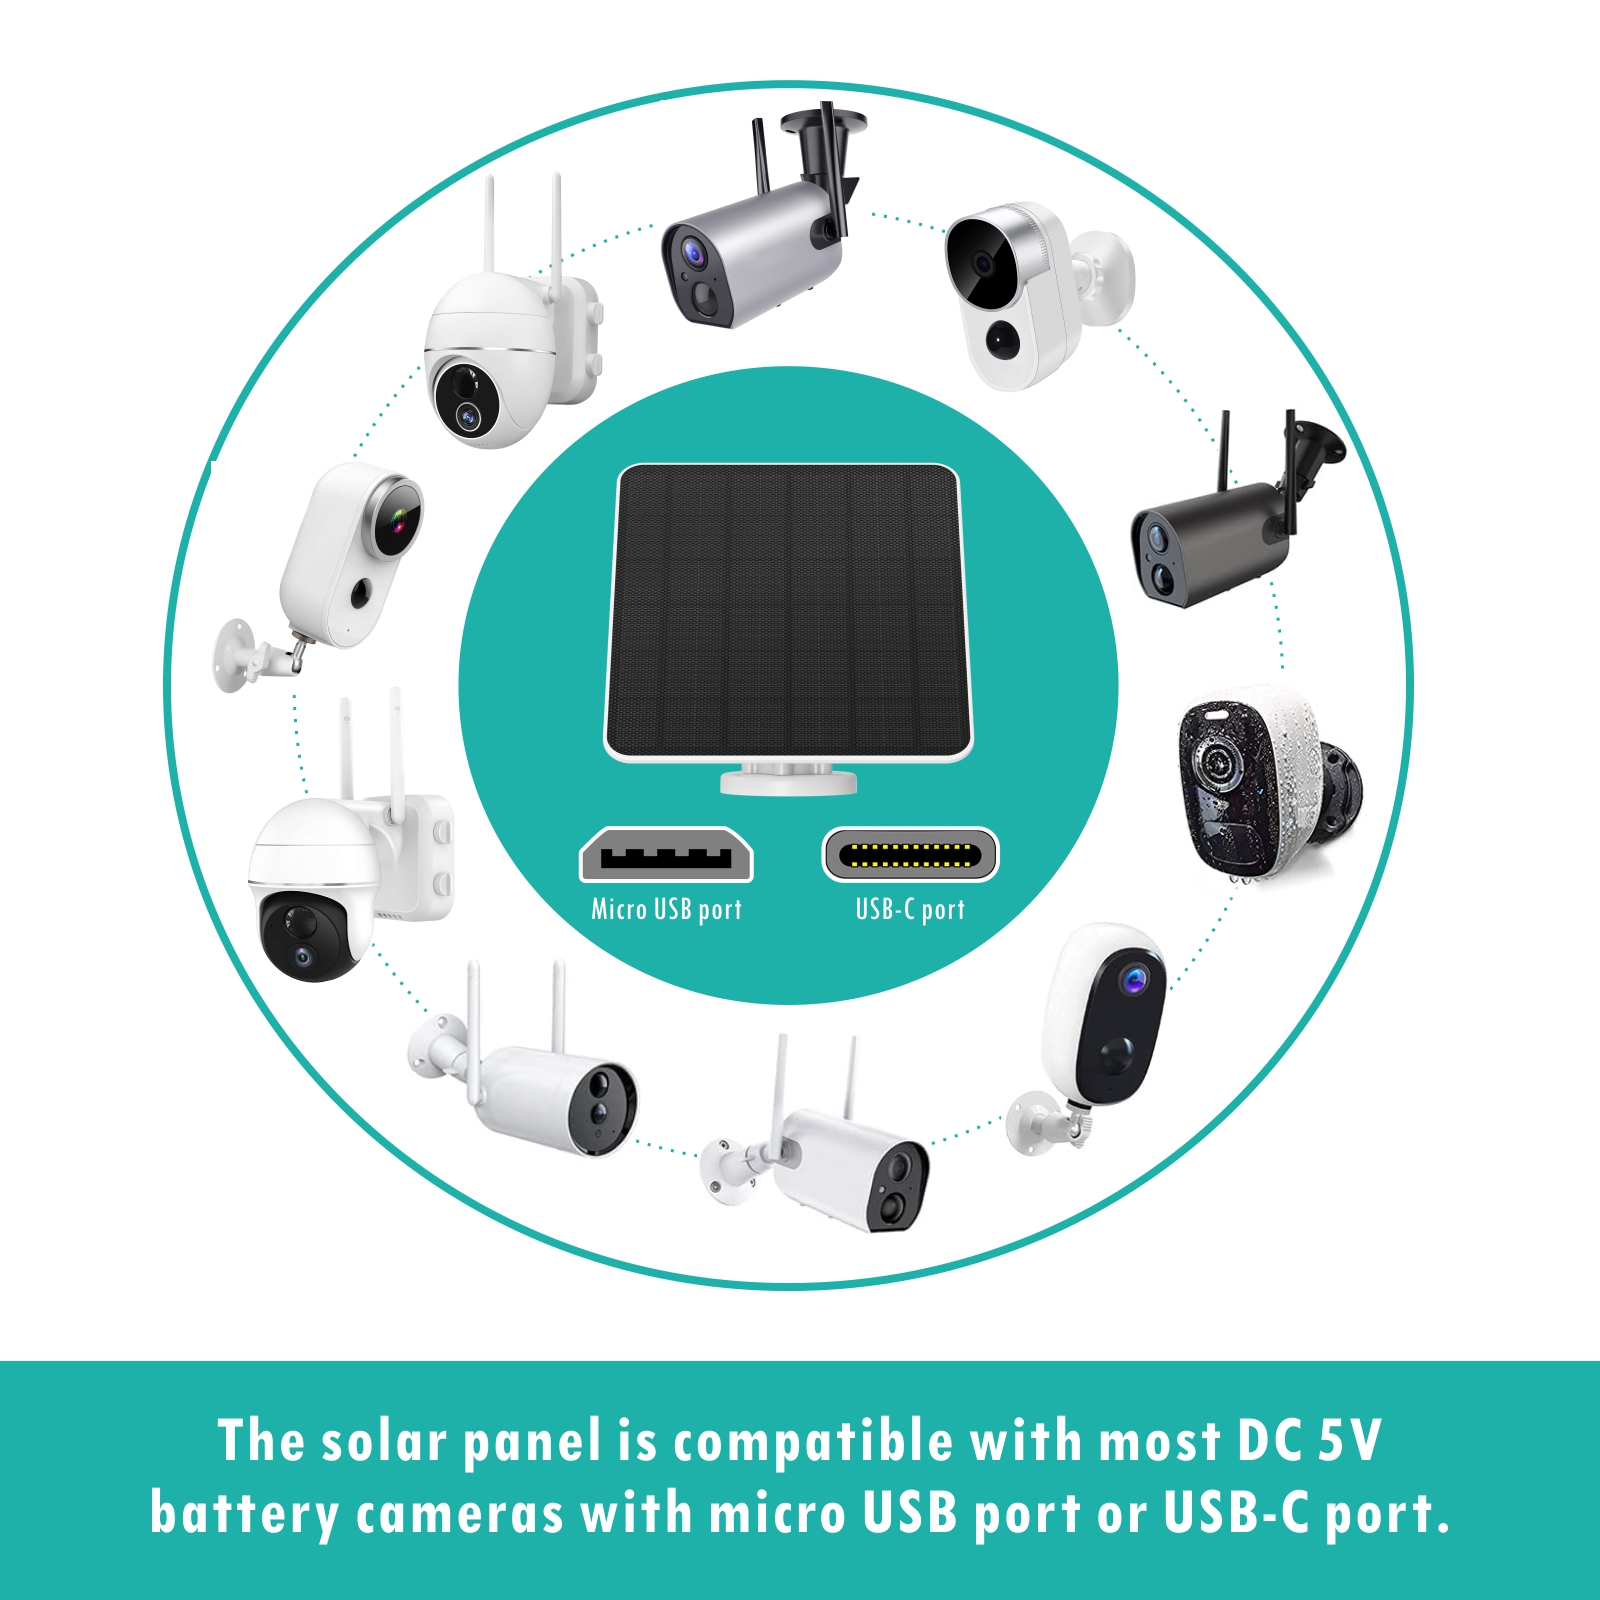
Solar-ready Ring cameras have a USB-C or Micro-USB port inside the battery compartment for panel connection.
The solar panel trickle-charges the battery whenever sunlight is available—about 2–3 hours of direct sun daily keeps most solar-powered security cameras charged.
Adding a second battery pack provides extra backup during cloudy weather.
Solar Panel Specifications
Size: ~8.1 × 6.7 × 0.5 in (205 × 169 × 12 mm)
Output: 2–4 W (typical)
Connector: USB-C / Micro-USB
Operating Range: –4 °F to 122 °F (–20 °C to 50 °C)
Real-World Performance and Installation Tips
Two hours of strong sunlight usually maintains a full charge for moderate activity.
If your solar powered security camera records often or runs through long cloudy stretches, use an extra battery or a plug-in adapter for stability.
Quick Comparison
|
Model |
Battery Type |
Solar Option |
Connector |
Key Features |
|---|---|---|---|---|
|
Outdoor Cam Plus (Battery) |
Quick-Release |
Included / Add-on |
USB-C |
2K video, motion alerts, siren |
|
Spotlight Cam Plus (Battery/Solar) |
Quick-Release |
Included / Add-on |
USB-C |
1080p HD, color night vision, built-in lights |
|
Stick Up Cam (Battery) |
Quick-Release |
Add-on |
Micro-USB |
1080p HD, flexible installation |
By following these compatibility and setup tips, your Ring solar powered wireless security camera can stay charged year-round with minimal maintenance—rain or shine.
How to Choose the Best Solar Panel for Your Solar Security Camera
Choosing the right solar panel for your Ring solar security camera ensures stable charging, longer battery life, and maintenance-free operation. Here’s what to consider before buying.

1. Check the Connector Type
Confirm whether your camera uses USB-C (newer models like Outdoor Cam Plus, Spotlight Cam Plus) or a barrel plug (older Stick Up/Spotlight versions).
If ports differ, use an official Ring adapter for a weather-sealed, reliable connection for your smart solar security camera system.
2. Choose Proper Power Output
Select a panel rated between 2–4 W for consistent charging.
Ring USB-C Panel: 1.9 W (compact) or 4 W (standard)
Ring Super Solar Panel: 5 W for high-traffic or cloudy areas
Wasserstein 2 W (5 V): good for older models
Higher-wattage panels keep your solar wireless security cameras charged more effectively in shaded or low-sunlight conditions.
3. Ensure Outdoor Durability
Pick a weather-resistant panel that handles rain, heat, and temperature changes.
Example: the Wasserstein 2 W panel includes waterproof housing and a 13 ft (4 m) cable for flexible placement of any outdoor solar security camera.
4. Confirm Camera Compatibility
Only battery-powered Ring cameras support solar charging—such as Stick Up Cam Battery, Spotlight Cam Battery / Plus / Pro, and Outdoor Cam Plus (Battery).
Always verify compatibility before purchasing.
5. Optimize Placement and Cable Setup
Install the panel where it receives 4–6 hours of direct sunlight daily, facing south in the Northern Hemisphere (north in the Southern).
Avoid shade from roofs or trees, which can reduce wireless solar security cameras’ light efficiency by up to 50%.
Standard USB-C cables are about 6.5 ft, while barrel-plug versions reach 13 ft+—add extensions if needed.
6. Understand Solar Charging Limits
Solar panels maintain a charge but cannot restore a fully drained battery.
Fully charge the camera before setup; expect it to stabilize around 80–90%, which preserves long-term battery health.
Quick Comparison: Recommended Solar Panels
|
Brand / Model |
Output |
Cable Length |
Weatherproof |
Key Features |
Price |
|---|---|---|---|---|---|
|
Ring USB-C Panel |
1.9 W / 4 W |
6.5 ft |
✔ |
Compact, ideal for new models |
$39–$55 |
|
Wasserstein Panel |
2 W |
13 ft |
✔ |
Long cable, strong outdoor build |
$35–$45 |
|
Ring Super Solar Panel |
5 W |
6.5 ft |
✔ |
Highest output for heavy use |
$59–$69 |
By comparing connector type, power rating, durability, and cable reach, you can easily select the best solar panel for your Ring solar security camera setup—helping you build one of the best solar security camera systems for reliable, renewable power all year round.
How to Install and Connect a Solar Panel to Your Ring Solar Security Camera
Installing a solar panel for your Ring CCTV solar security camera takes only a few minutes and provides months of reliable, maintenance-free power.
Choose a location with 4–6 hours of direct sunlight each day. Tilt the panel about 45° toward the sun, facing south in the Northern Hemisphere or north in the Southern Hemisphere. Most IP solar security camera panels stay charged with 3–4 hours of light.
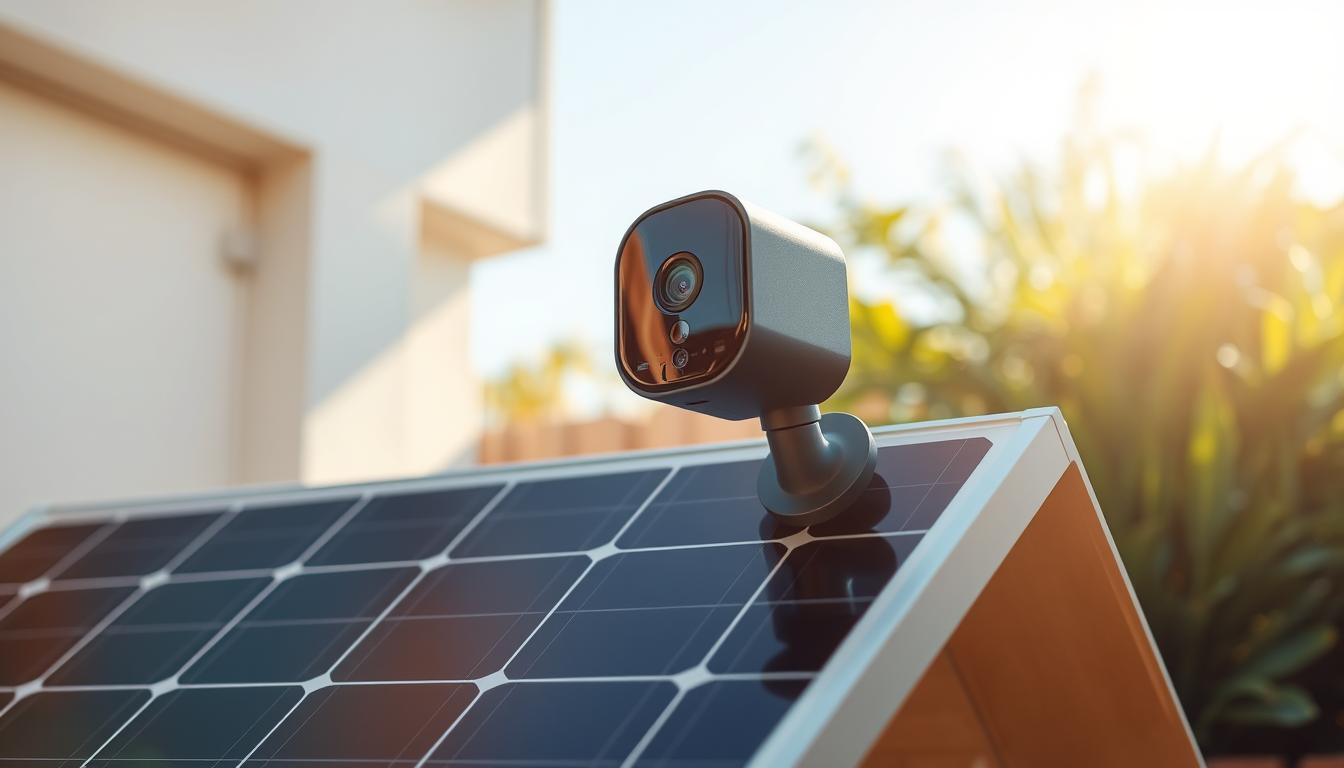
Step-by-Step Installation
Mark & Drill – Use the provided bracket to mark screw holes. Drill with a 6 mm bit and insert wall anchors if mounting on brick or concrete.
Attach Bracket – Secure it using the included screws.
Mount Panel – Fix the panel to the bracket and tighten the ring to hold your angle.
Route Cable – Bundle excess cable neatly with clips to prevent tangling.
Connect to Camera – Remove the rubber plug, insert the solar connector firmly (USB-C or barrel), and use a Ring adapter if ports differ.
Seal Connection – Ensure all joints are tight and waterproof.
Open the Ring app to verify the connection. A battery icon with a sun symbol means the solar-powered security camera is charging.
Clean the panel monthly, remove debris, and check cables for wear. These quick steps keep your outdoor solar security camera system running efficiently year-round.
App Setup and Verification
Open the Ring app and confirm the connection.
A battery icon with a sun symbol means the panel is charging.
Note: Charging pauses around 80–90% battery to protect long-term health.
Tools and Maintenance
Tools: Drill, screwdriver, pencil, and optional ladder.
Hardware included: Screws, anchors, a bracket, and cable clips.
Time: Usually under 15 minutes to complete installation.
Clean the panel monthly, remove debris, and check cables for wear. These quick steps keep your solar-powered Ring camera running efficiently year-round.
Real-World Performance
Properly installed Ring Stick Up or Spotlight Cams stay charged through every season with just a few hours of sunlight daily. In most climates, users rarely need manual recharging, achieving truly maintenance-free solar security.
Solar Security Camera Placement, Cleaning, and Power Optimization Tips
Proper solar panel placement and smart settings greatly improve your 4G solar security camera performance, extending battery life and reliability all year.

Best Placement and Angle
Install panels in locations with 4–6 hours of direct sunlight daily. Tilt them 30–45° toward the sun—45° works best in winter. Clean every 1–3 months to remove dust and pollen that can reduce your solar-powered security camera’s efficiency by up to 20%.
Cleaning and Maintenance
Dirt, pollen, or snow can cut solar efficiency by up to 20%, so keep panels clean.
Wipe them every 1–3 months using a soft, damp cloth, avoiding harsh chemicals or high-pressure water.
Check angles and cable connections to prevent shading or looseness.
Clean panels consistently deliver stronger charging and steadier battery levels.
Power Optimization and Battery Health
Reduce power drain to maximize solar performance:
Lower motion sensitivity or use People Only Mode to reduce false alerts.
Limit Live View sessions, which consume more energy.
Shorten video clips and increase intervals between recordings.
These settings typically maintain 50–80% battery levels year-round—ideal for the long-term health of your solar-powered Ring camera.
Seasonal and App Checks
At the start of each season, recheck the panel’s angle and orientation.
In the Ring app, review battery levels and look for the sun icon, confirming that solar charging is active.
Quick Checklist
Face panel south/north based on hemisphere
Tilt 30–45° for best exposure
Clean every 1–3 months
Adjust motion and Live View settings
Verify solar status in the Ring app
Following these simple maintenance and optimization habits keeps your Ring solar camera reliably charged with minimal manual effort, season after season.
Troubleshooting and Maintenance for Solar Security Camera Connections
Keeping your Ring wifi solar security camera in good condition ensures reliable charging and minimal downtime.
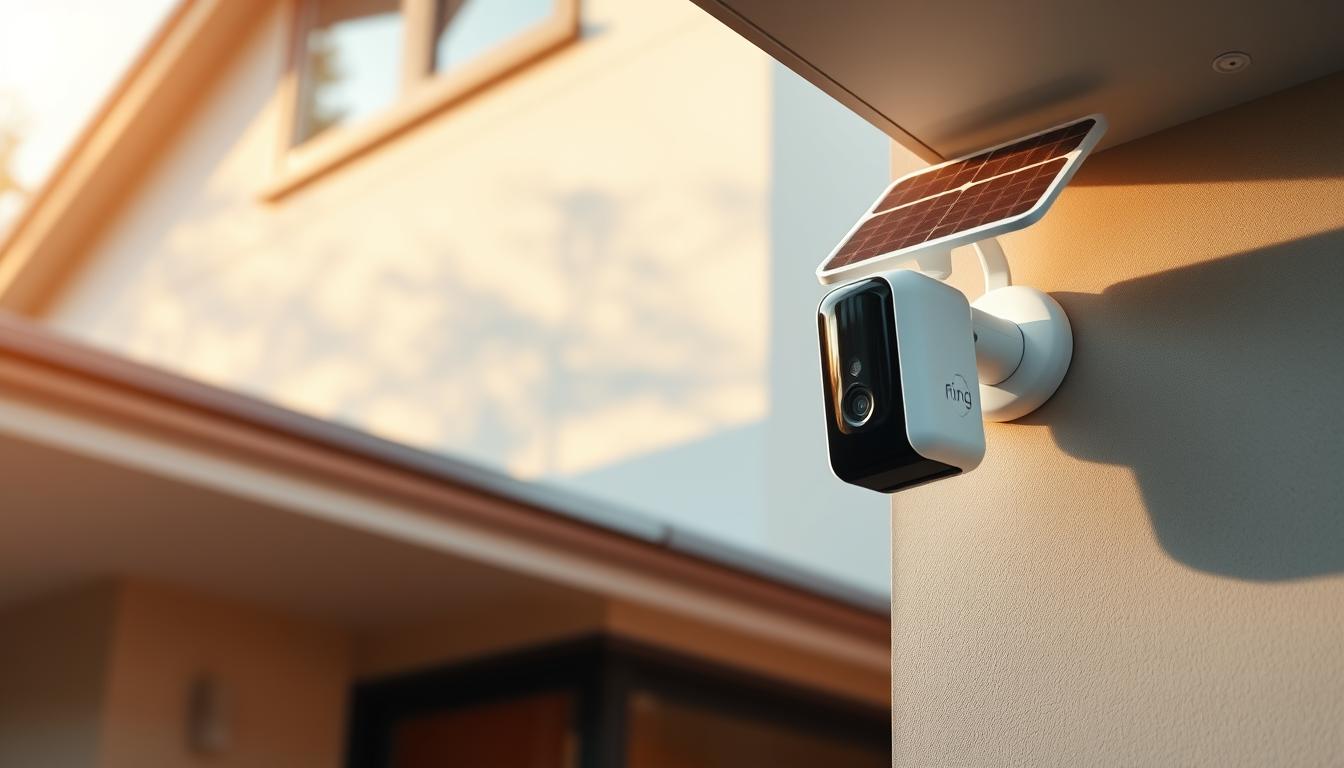
Common Issues and Quick Fixes
1. Weak Sunlight Exposure
Lack of direct sunlight is the main cause of poor charging. Even small shadows from trees or roofs can cut efficiency. Move the panel to a brighter spot for 4–6 hours of daily exposure.
2. Loose or Damaged Cables
Bent pins, frayed wires, or dirt in connectors break the circuit. Clean ports and reseat plugs firmly; replace worn cables if needed.
3. Battery Charge Limitation
Charging pauses once the battery exceeds 90% to prevent overcharging and resumes automatically when levels drop.
4. Compatibility or Firmware Issues
Use the correct USB-C or barrel connector for your camera model. If the panel isn’t detected, restart the camera or update the firmware to restore recognition.
5. Physical Damage
Cracked surfaces or water intrusion reduce charging. Replace damaged panels immediately.
Step-by-Step Troubleshooting
Clean the Panel – Wipe with a soft, damp cloth; avoid chemicals or high-pressure sprays.
Reposition for Sunlight – Face the panel south (Northern Hemisphere) or north (Southern Hemisphere).
Check All Connections – Unplug, clean, and reconnect cables tightly.
Power Cycle the Camera – Remove the battery for 30 seconds, then reinstall and reconnect the solar panel.
Verify in the App – Look for the solar icon and confirm the battery is below 90%.
Swap Components – Test another panel or camera to isolate faulty parts.
Factory Reset – Hold the setup button for 20–30 seconds if all else fails.
When to Contact Ring Support
Contact Ring Support if charging still fails after these steps, if visible damage is present, or if compatibility and firmware issues persist even after resets or swaps.
Maintenance Schedule
Monthly: Inspect cables, connectors, and mounts for looseness or wear.
Seasonally: Clean the panel, remove debris, and check for new shade.
Annually: Reassess tilt and position—tree growth or new structures can block sunlight.
Quick Reference Summary
|
Category |
Recommendation |
|---|---|
|
Sunlight Required |
4–6 hours per day |
|
Charging Cut-Off |
Stops above 90% battery |
|
Inspection Points |
Cracks, corrosion, loose plugs |
|
Reboot Steps |
Remove battery → wait 30s → reinstall → reconnect panel → check app |
Following this Ring solar panel troubleshooting routine keeps your solar-powered Ring camera charging efficiently through every season, ensuring continuous protection with little manual effort.
Solar Security Camera Performance, Efficiency, and Third-Party Options
Knowing how Ring solar panels perform in real conditions helps you maintain stable power all year. Below are key facts on sunlight requirements, charging efficiency, and safe use of third-party panels.
Sunlight and Charging Efficiency
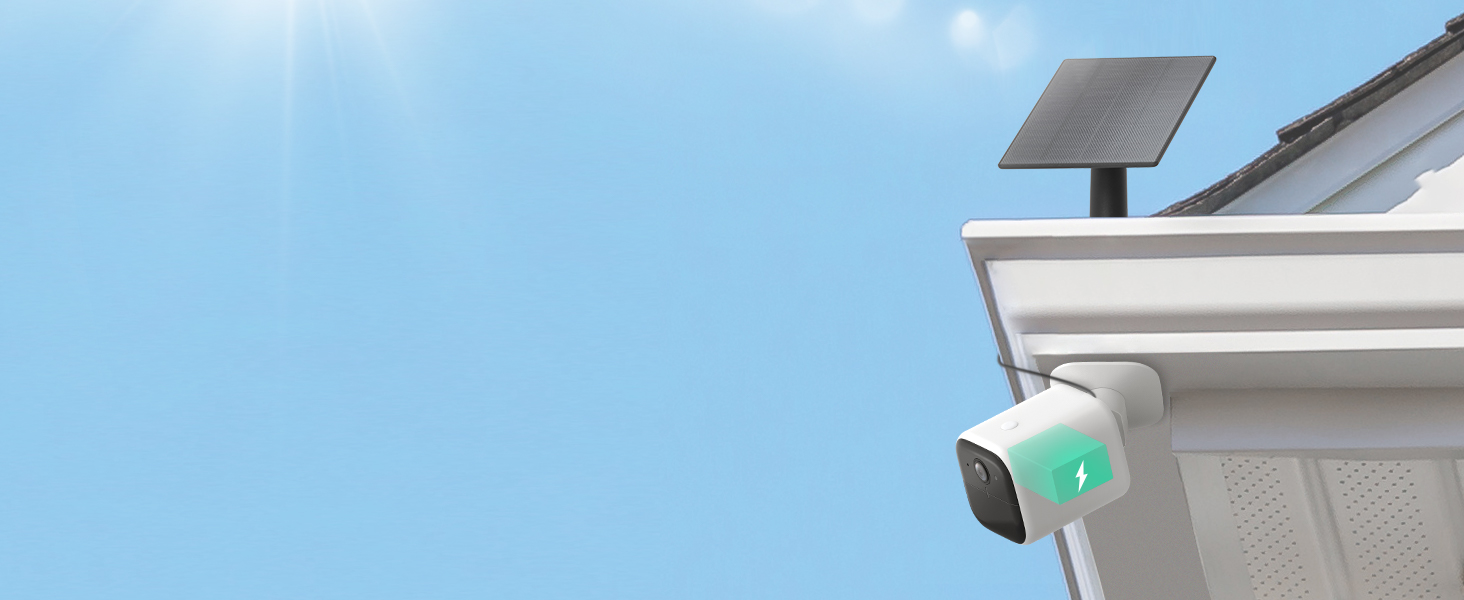
Your Ring solar camera needs about 3–4 hours of direct sunlight daily for steady charging.
New USB-C panels charge up to 60% faster than older barrel-plug models and start recharging once the battery drops below 90% to prevent overcharging.
Most setups use 2–6 W panels, with higher wattage offering more reliable performance in shaded or high-activity areas.
Performance in Cloudy or Winter Conditions
Solar efficiency declines on overcast days or during winter. In low-light conditions, you may get only 1–2 hours of effective charge, leaving around 2–3 weeks of battery life before a manual recharge.
Upgrading to a 4–6 W panel improves stability, but deep-winter charging can still lag. For colder or heavily shaded climates, consider adding a plug-in adapter or hybrid power setup for backup.
Real-World Insights
User reports show:
2 W panels keep cameras running for roughly 2–3 weeks in winter.
6 W upgrades boost charging consistency in cloudy weather.
Some advanced users use 12 V 25 W panels with voltage regulators for reliable off-grid operation.
Safe Use of Third-Party Solar Panels
While Ring recommends official accessories, third-party options can work if used safely:
Connector type: older models use DC 3.5 mm barrel plugs, newer ones USB-C.
Voltage range: maintain 4.5–5.2 V output—exceeding this risks battery damage.
Warranty: Using non-approved panels may void coverage or cause hardware issues.
Key Performance Summary
|
Factor |
Typical Range |
|---|---|
|
Sunlight Required |
3–4 hours daily |
|
Voltage Output |
4.5–5.2 V |
|
Panel Wattage |
2–6 W |
|
USB-C Efficiency Gain |
Up to 60% faster |
|
Solar Activation Threshold |
Below 90% battery |
Final Takeaway
For dependable year-round power, pair your Ring solar camera with a properly sized 4–6 W panel and ensure sufficient sunlight. In low-light or winter conditions, supplement with hybrid power—but always keep voltage and connector specs within Ring’s safe operating limits.
Key Benefits of Using a Solar Security Camera System for Home Protection
Connecting a solar panel to your Ring camera provides more than convenience — it delivers continuous power, lower costs, and eco-friendly operation. With steady solar charging, your camera stays online all year without manual recharging or complex wiring.
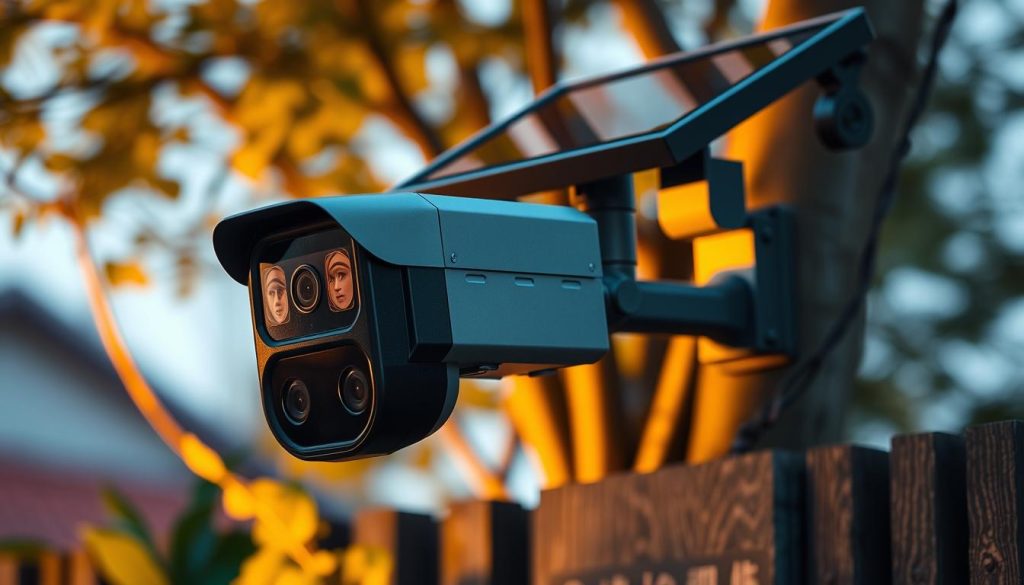
Cost Savings and Energy Efficiency
A solar-powered Ring camera reduces household energy use and maintenance costs:
Automatic charging: Solar panels keep the battery topped up, extending its lifespan.
Lower bills: Homeowners often cut monthly energy costs to around $10–$15, depending on setup and location.
Increased home value: Solar installations can raise property value by up to 4% (about $5,000–$6,000 per kW).
Rebates and credits: Federal and local incentives often cover 26% or more of installation costs, improving overall ROI.
Environmental Advantages
Solar energy produces zero emissions, helping reduce your carbon footprint while maintaining home security.
Panels use recyclable materials like aluminum frames and lead-free solder, meeting standards such as IEC 61215 and UL 1703.
Because they generate clean, on-site power, Ring solar cameras keep recording even during power outages — ideal for true energy independence.
Reliable, Maintenance-Free Security
Solar charging supports all major camera functions — motion detection, night vision, and live view — without performance loss.
With dual-band Wi-Fi and smart alerts, Ring cameras achieve 98% notification reliability, minimizing missed or false alerts.
Since the battery stays charged, you eliminate downtime — perfect for remote areas, farms, or outdoor properties.
Easy Installation and Compatibility
Ring solar panels are simple to install, either DIY or professionally. They work seamlessly with models like the Stick Up Cam, Spotlight Cam, and Outdoor Cam Plus, letting you place cameras anywhere sunlight reaches — no outlets or wiring needed.
Real-World Example
In sunny regions, a Ring Stick Up Cam paired with a solar panel can operate indefinitely. Even in moderate sunlight, it stays charged for months with little to no maintenance.
Final Takeaway
With the right setup, a solar-powered Ring camera gives you continuous protection without the hassle of recharging or messy wiring. By choosing a compatible panel, placing it correctly, and keeping it clean, your system stays reliable through every season. Enjoy smarter, greener home security that works for you—day and night.
If you’re looking for custom solar security camera solutions, feel free to contact us for a personalized quote.